Cooking the perfect "côte de bœuf"
Tempering, salt, reverse sear, resting, slicing: the full method, and why every step matters.
In this article
Cooking the perfect côte de bœuf
You come home from your butcher with the pride of having landed the piece of pieces. The one everyone dreams about, the one that will be the centrepiece of your next meal with friends: the côte de bœuf. It's a French cut: a thick slice of fore rib left on the bone, the closest thing to a bone-in ribeye or a thick-cut rib steak. You spent a long time in front of the dry-aging cabinet, hesitating between Simmental, Black Angus or even Parthenaise, already picturing it over the coals.
So you come home with "your precious", but you don't know where to start. There's no question of throwing it into the flames and hoping to pull out something tasty without paying it a minimum of attention. You'll need patience, because cooking a côte de bœuf is an art.
Why you should bring a côte de bœuf up to room temperature before cooking
Beef, like other meats, is made of fibres. Those fibres react to heat. To avoid thermal shock, you have to let the meat come back up in temperature. The bigger the piece, the longer this takes: allow at least one hour per kilo, at room temperature — around 20 °C.
In a heatwave, cut this time down to avoid the risk of bacterial growth.
Fridges are generally set to around 4 °C. Imagine the shock the meat takes if it hasn't been brought out in advance: going from 4 °C to over 50 °C in a few minutes tightens the fibres considerably and makes the meat tough.
The other risk is failing to reach a satisfactory temperature during cooking. Your rib would be practically cold in the centre.
Rubbing with salt: stroke of genius or heresy?
Those who argue against salting beforehand point to the risk of moisture loss. That's what you see in curing: a brine bath, or meat buried in coarse salt, causes significant water loss in order to improve preservation.
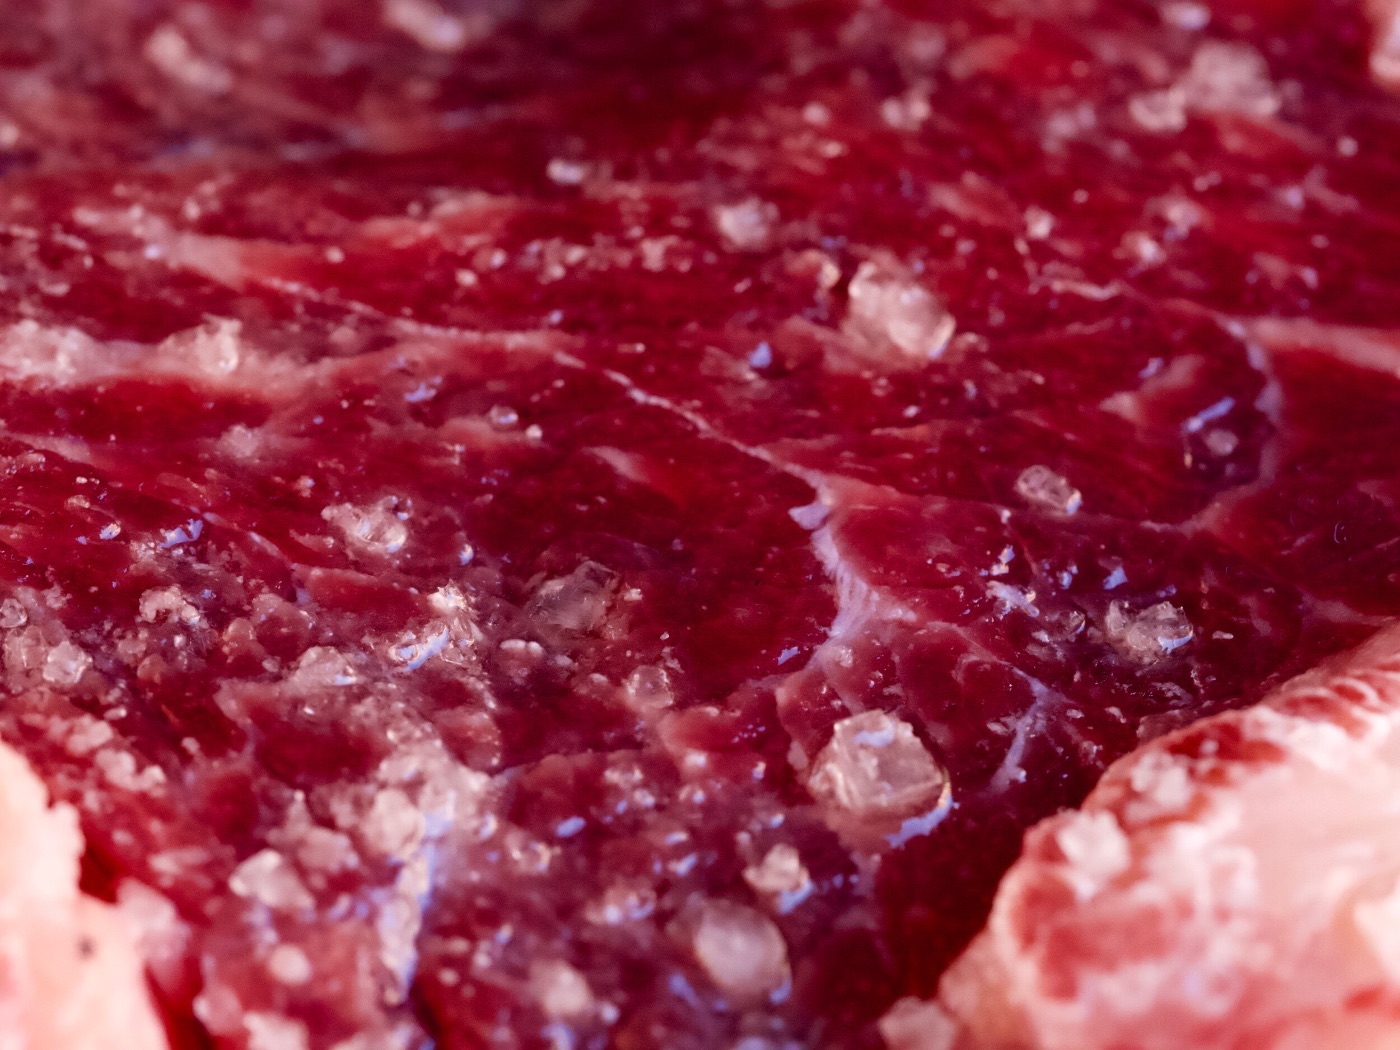
But keep in mind that this loss happens over a period of several hours to several days. The amount of salt used for a brine is substantial — around 250 g per litre of water. In the case of a 1.2 kg rib, you rub the meat with just a few grams of coarse salt, vigorously enough for it to work into the top layer. Since the recommended resting time to bring it up to temperature is one hour per kilo, our rib will rest for about 1 h 15. The meat won't have time to lose its moisture.
The other argument is that it would be better to let each person salt their own portion at the table. Here again, it's all a question of proportion: coarse salt, in small quantity, doesn't over-season a piece weighing more than a kilo. We're dealing with a big, imposing piece, not an escalope.
That leaves the question of whether there's any point in salting before cooking. That's what we're about to find out, with the Maillard reaction.
What is the Maillard reaction?
Louis Camille Maillard was a French chemist who discovered, in 1911, a reaction that takes place in meat during cooking. It has many effects on food; two are of particular interest to us here. The first is the creation of aromatic molecules. The second is the formation of a coloured crust on the surface, which keeps the meat juicy. That crust will be all the more pronounced if the meat has been salted.
It's worth noting, however, that a Maillard reaction taken too far develops carcinogenic molecules. Controlling the cook is therefore essential.
Cooking temperature
The first thing to remember: we're talking about the temperature at the core of the meat, not any kind of oven temperature.
The Maillard reaction transforms the meat, which passes through the different stages we call degrees of doneness.
| Doneness | Core temperature |
|---|---|
| Blue | 48 °C |
| Rare | 54 °C |
| Medium | 58 °C |
| Well done | 65 °C |
Purists will tell you a côte de bœuf is only ever eaten rare, or even blue. It's true that a low cooking temperature protects the nutritional quality of the food. But plenty of people are put off by the bloody look of red meat.
Here again, there's a trick. If your rib releases a large amount of blood when you slice it, it means two parameters weren't respected: the cooking temperature and the resting time. We're talking about core temperature, and it has a direct impact on the look of the meat.
To get an even doneness, with a consistent texture right through the thickness, go for the reverse sear.
The reverse sear
To apply the reverse sear, you'll need patience. It takes a longer cook, but it guarantees an exceptional result.
The principle is simple. You start with a slow cook at around 100 °C, in the oven or in a lidded barbecue set up for indirect cooking. The aim is to reach a core temperature 10 °C below your target doneness. For a rare rib, that means aiming for 44 °C at the core.
To stay as close as possible to the target temperature, a probe thermometer is essential. It will quickly pay for itself, and it will become your best ally in the kitchen.
As soon as you hit 44 °C, let the meat rest wrapped in butcher paper, or failing that in two layers of aluminium foil. The temperature will climb by about 4 °C, which brings us to 48 °C. Meanwhile, switch your barbecue over to direct cooking to sear the meat on both sides.
One extra trick: smoking
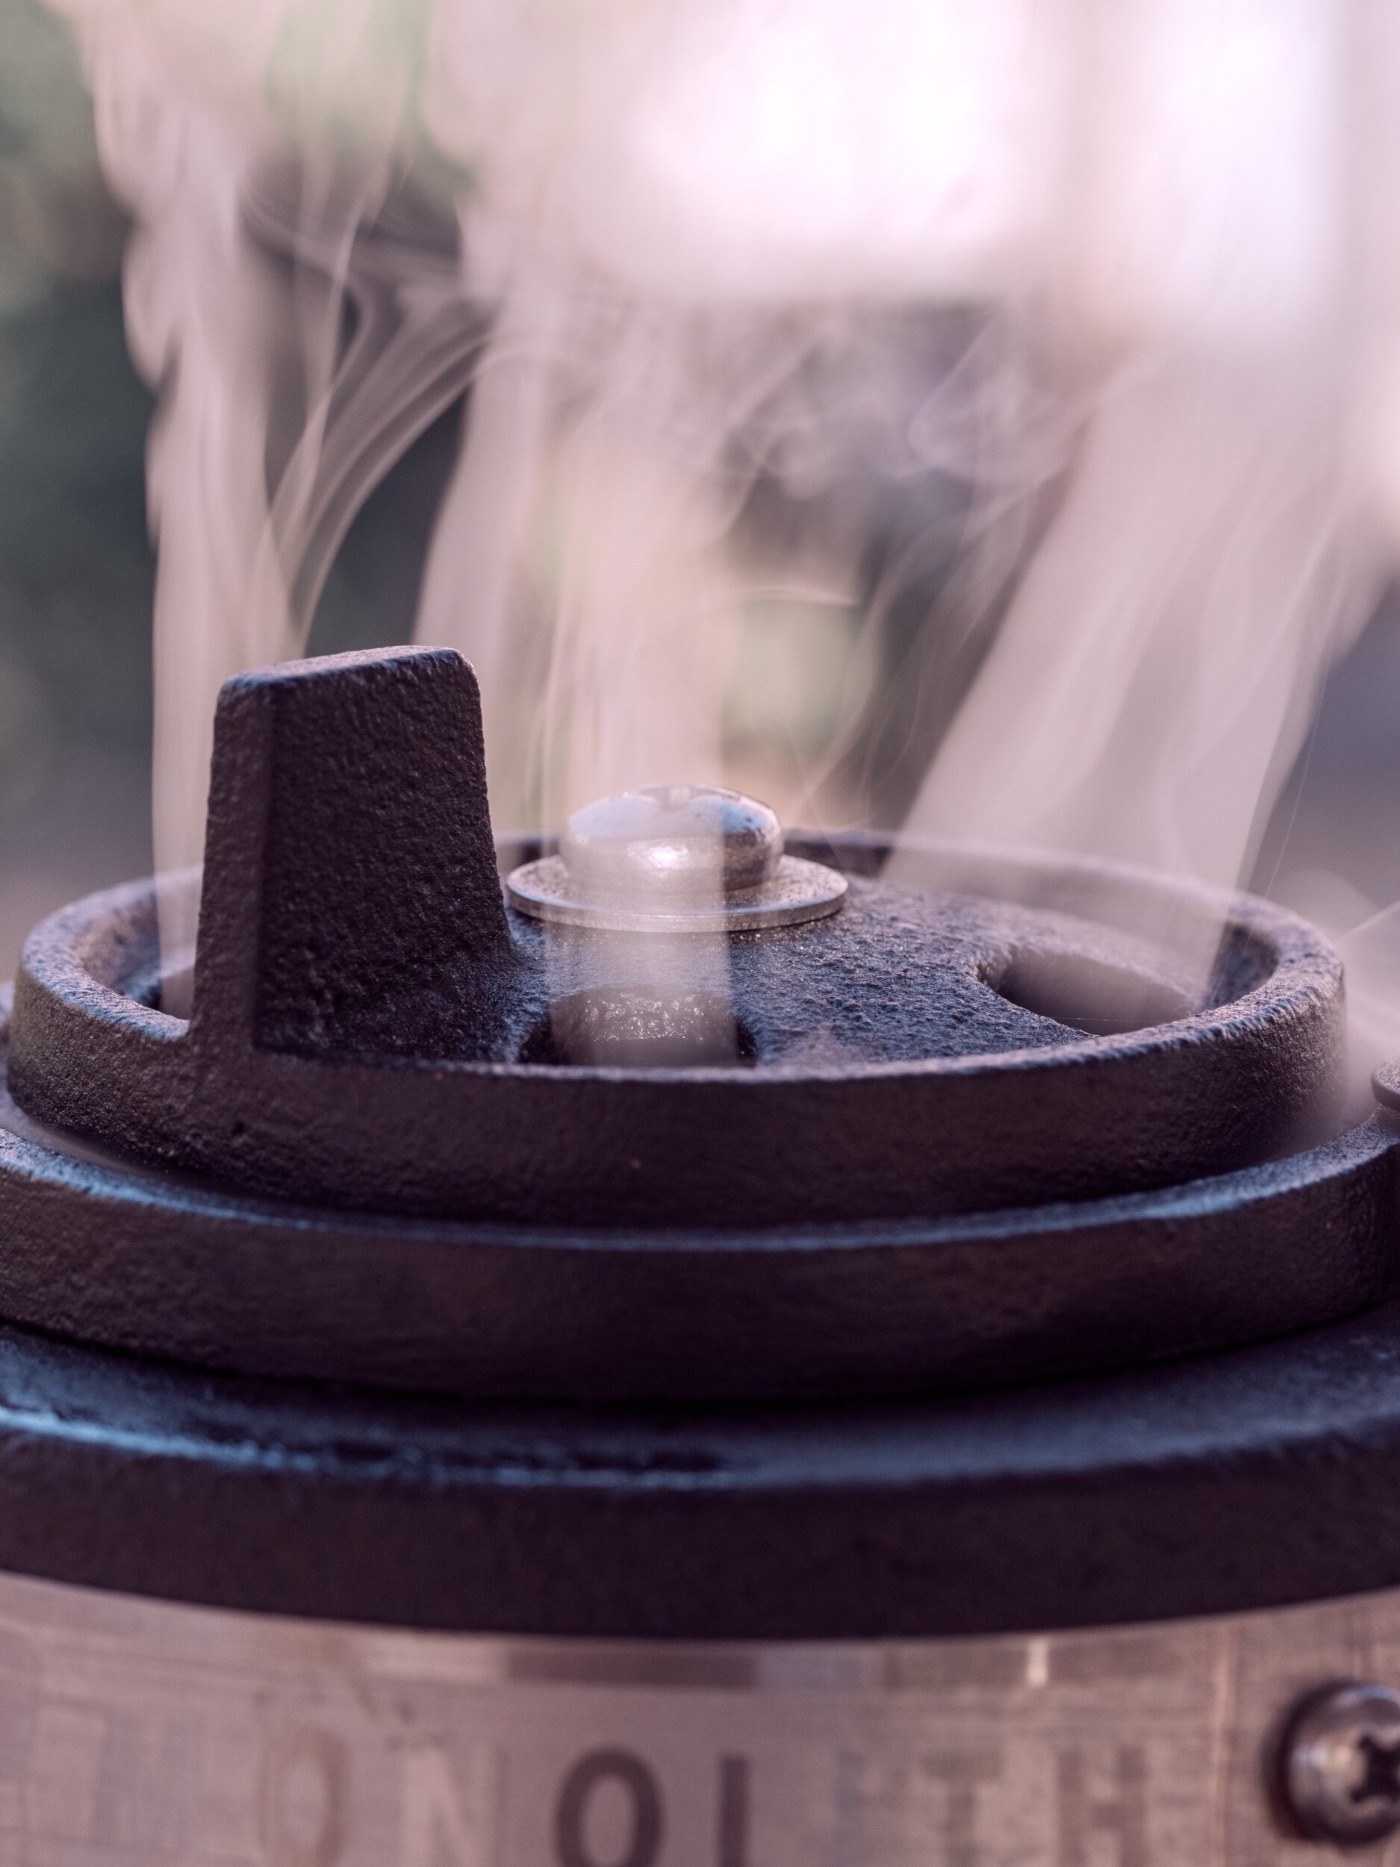
There's nothing like a touch of smoke on a good côte de bœuf. Handled well, it adds body without overpowering. You can go for hickory or oak.
The important thing is to start the smoke from the very beginning of the cook, ideally in a smoker, a kettle or a kamado. You then proceed as with the reverse sear: smoke at around 100 to 120 °C, and stop 10 °C before your target doneness.
Searing: the Maillard reaction in practice
Your barbecue is now ready for direct cooking. We work back and forth.
- Lay the rib down on the first side, one to two minutes.
- Turn it onto the other side, rotating it 90°, for another minute.
- Back onto the first side to build a clean crosshatch, one minute.
- Finish on the second side, with another quarter turn.
Then check the doneness: you should be 4 °C below your target — 50 °C in the case of rare.
This stage can also be done on a plancha, or failing that in a pan. You then need to add a little fat and shorten the cooking time: with a larger contact surface, the temperature climbs faster. The thermometer remains the best way to check.
Why resting time matters
Now comes the resting time. Don't skip it, at the risk of missing your doneness and ending up with meat that loses all its juices when you slice it.
Straight off the barbecue, wrap the rib in butcher paper again for around ten minutes. The heat spreads evenly and the meat gains about 4 to 6 °C, bringing it to the desired doneness. During this phase, the fibres relax and absorb the moisture — that's what stops it from releasing all its juices when you slice it.
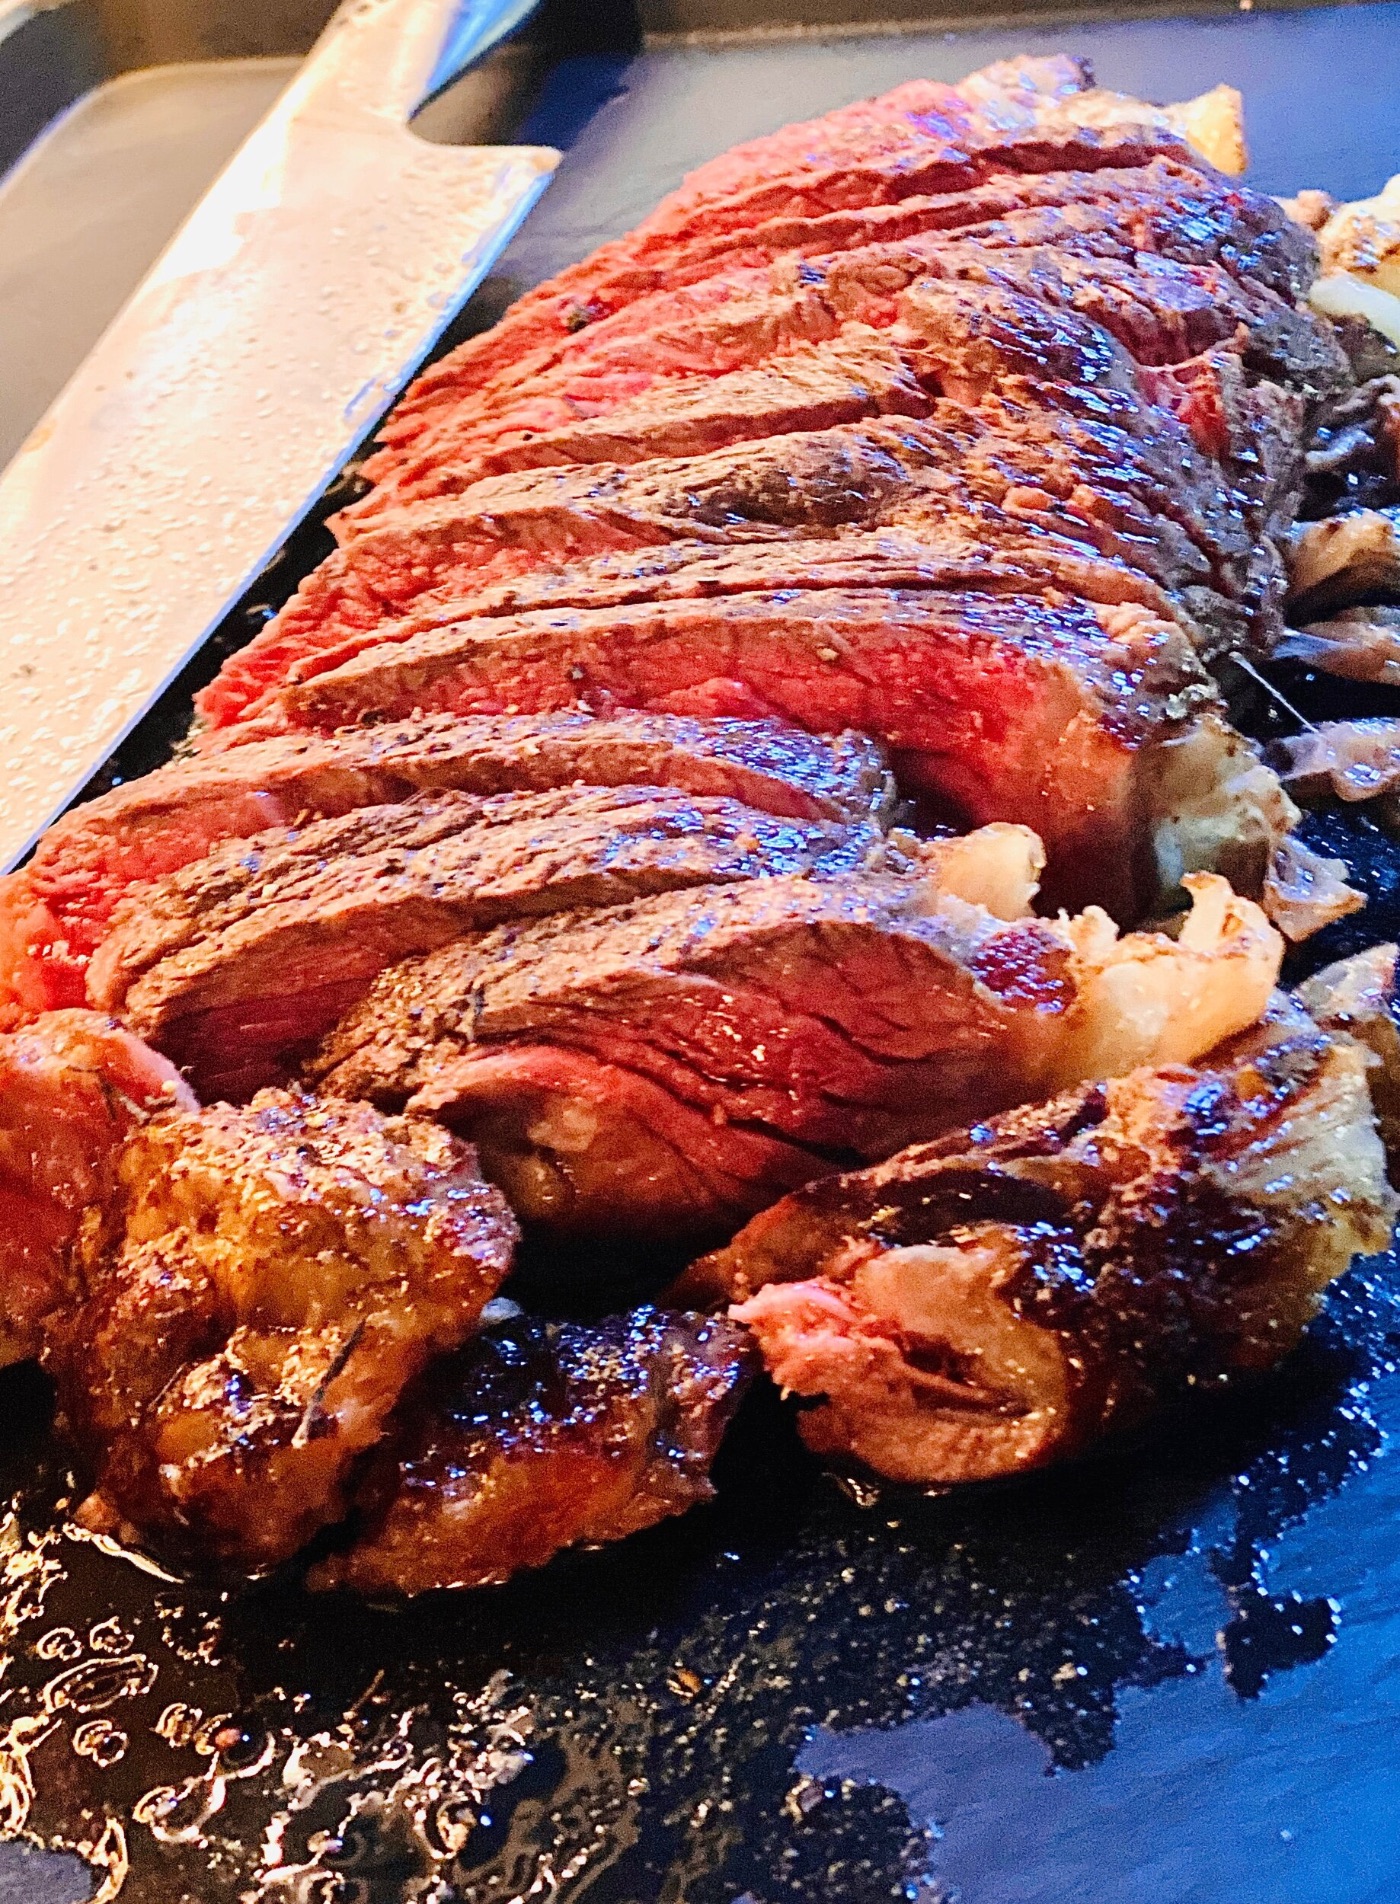
Slicing
Here we are, or almost. Slicing shouldn't be neglected either.
The first thing to do is to free the bone: use a small knife and run it all the way along. Then bring out the heavy artillery, with a chef's knife, and cut thin slices.
Affiliate links. I earn a commission if you buy after clicking, at no extra cost to you.
What happens around the fire, on no fixed schedule. No promotions, no ten-part series.